10 Essential Tips for Capturing Stunning Property Photos
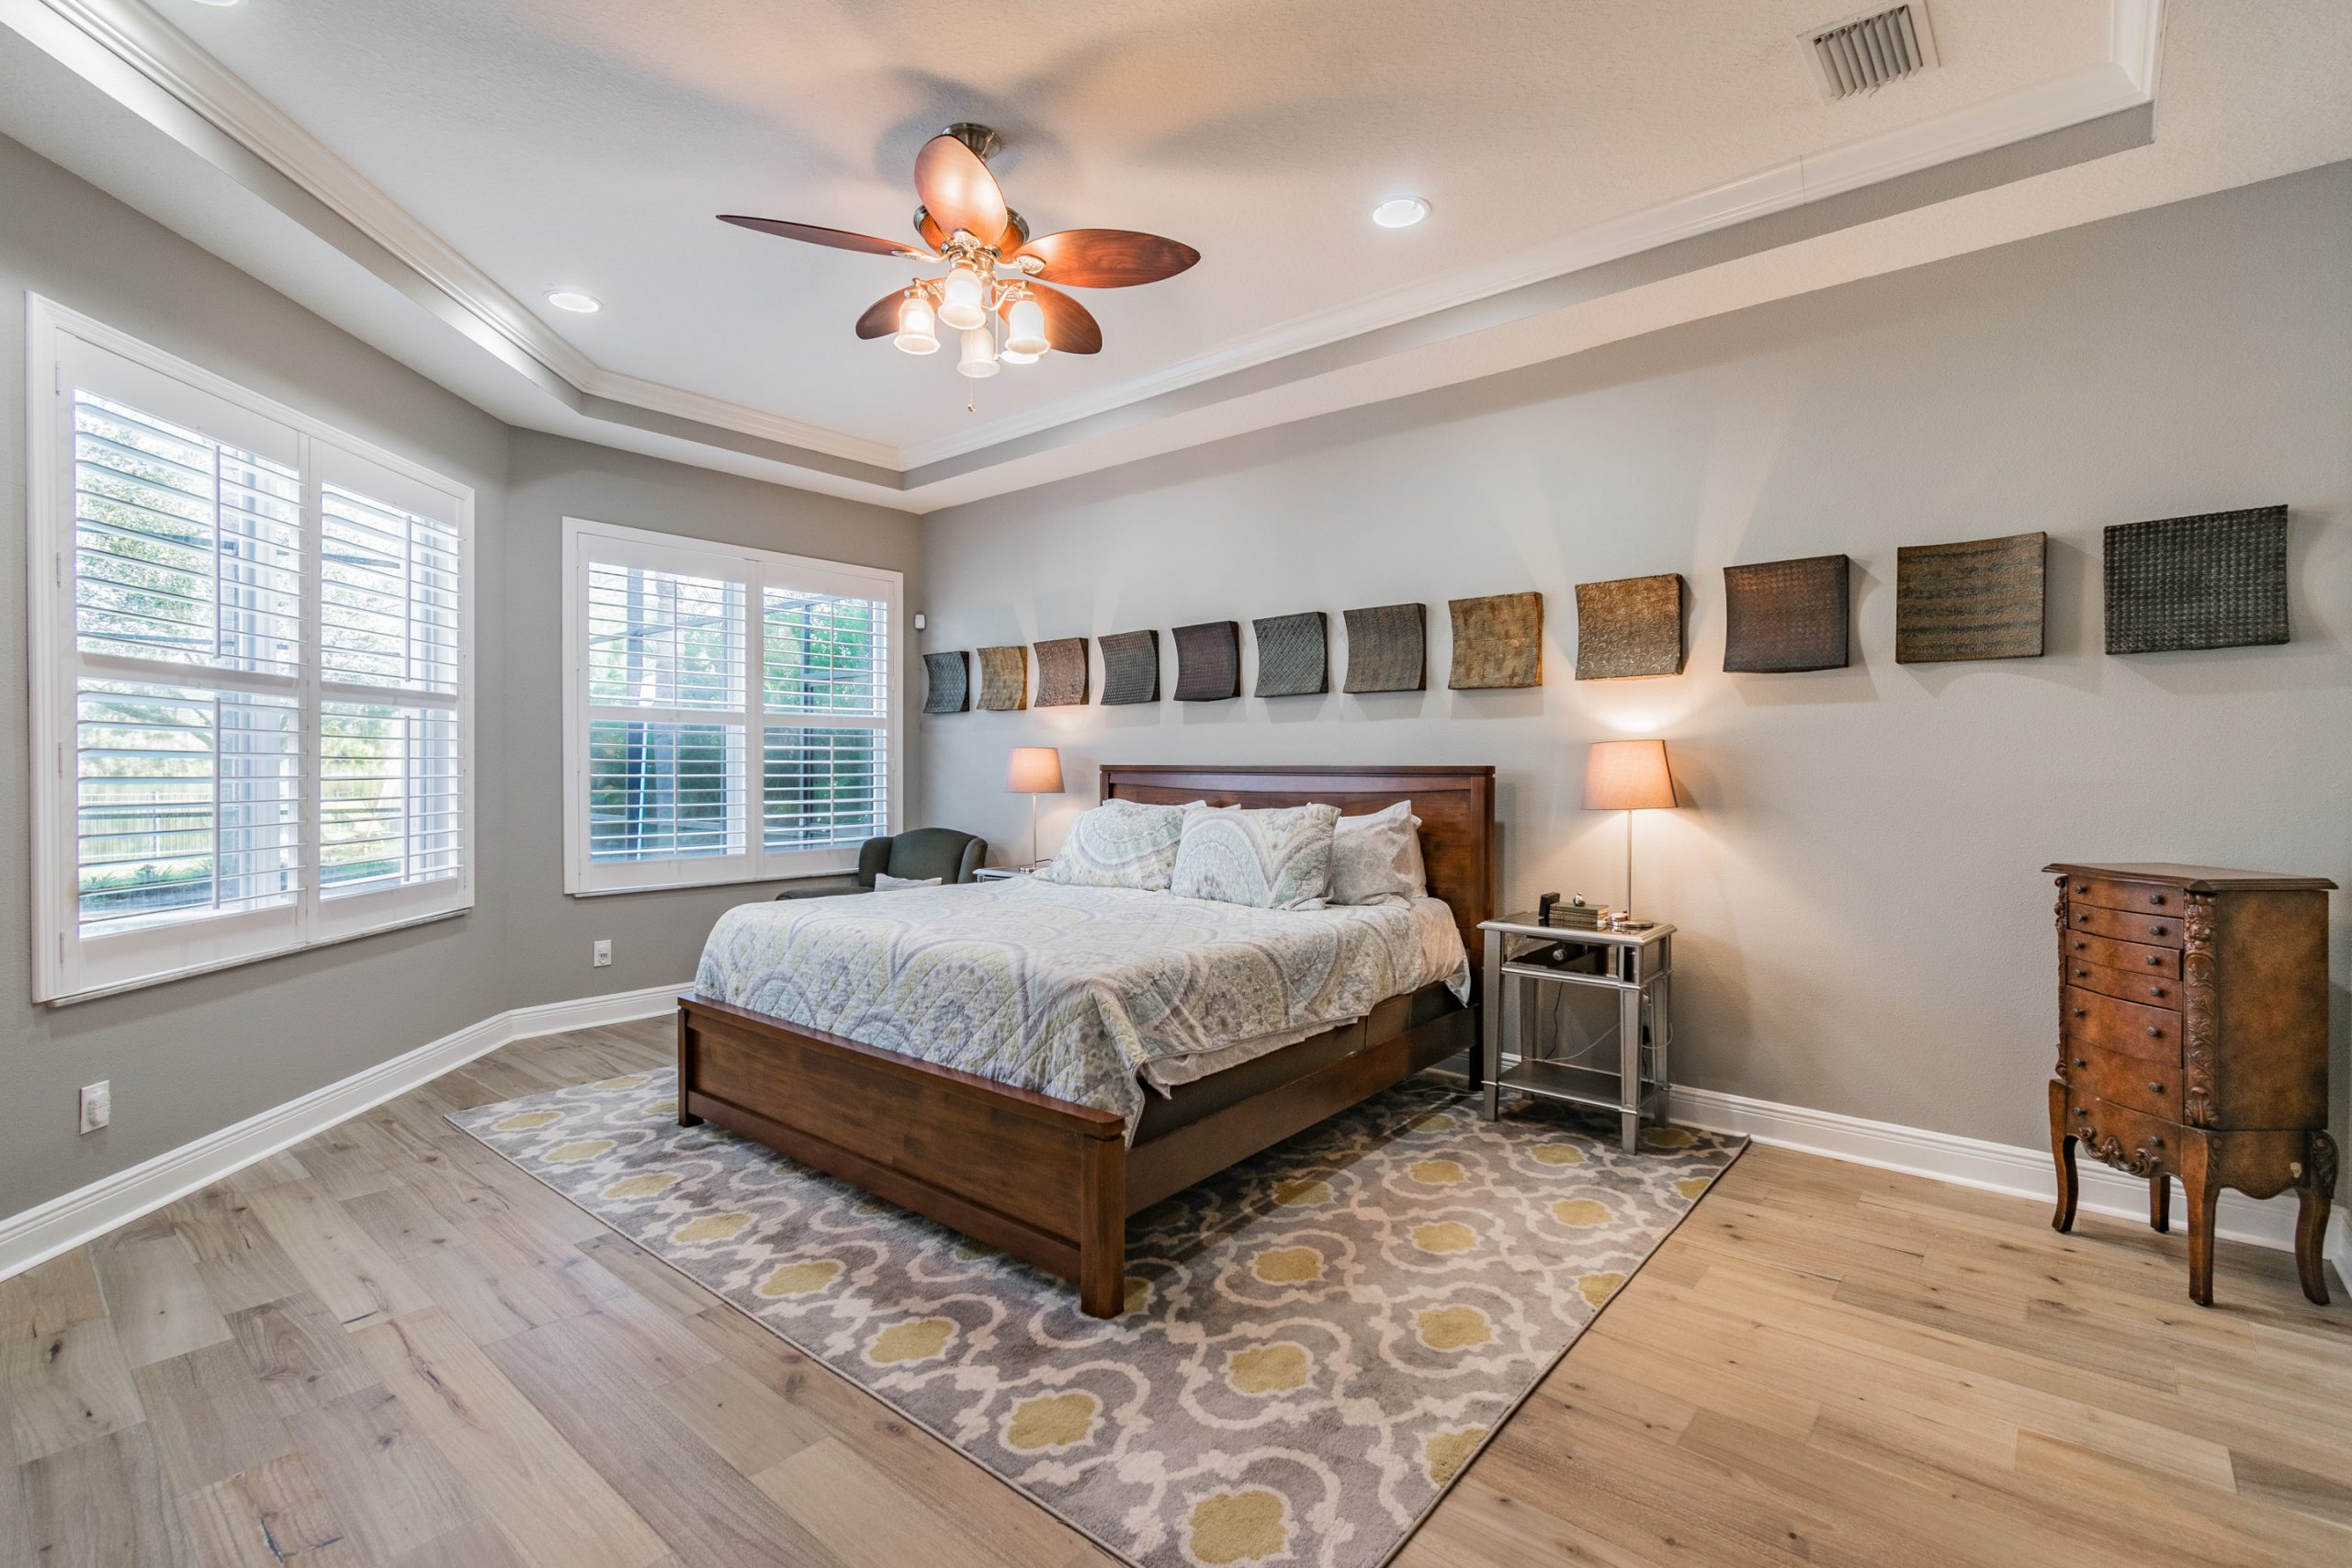
When it comes to capturing stunning property photos, lighting is key. Utilize natural light whenever possible, as it enhances colors and creates a warm ambiance. Plan your photoshoot during the golden hours—shortly after sunrise or before sunset—when the light is soft and flattering. If you’re shooting indoors, open curtains and blinds to let in as much light as possible. Additionally, consider the composition of your shots: use leading lines to draw viewers' eyes into the frame, and ensure the main features of the property are prominently highlighted.
Another vital tip is to declutter the space before your shoot. A clean and organized property not only looks more appealing but also allows potential buyers to envision themselves in the space. Take the time to remove personal items and excess furniture, creating a serene environment. Additionally, experiment with different angles and perspectives: shoot from various heights and positions to capture the essence of each room. Finally, invest in a good quality tripod to stabilize your shots and achieve crisp, clear images, enhancing the overall quality of your property photos.
How to Use Natural Light to Enhance Your Property Photography
Utilizing natural light is crucial for capturing stunning property photography that resonates with potential buyers. To make the most out of your shooting schedule, consider the time of day. The golden hour, which occurs shortly after sunrise and before sunset, offers a warm and soft light that enhances the aesthetic appeal of your property. During this time, shadows are less harsh, and colors appear more vibrant, allowing for detailed textures of the property to be highlighted. Aim to shoot with the light facing your subject to create an inviting atmosphere.
Another key aspect of using natural light is understanding how to manipulate it effectively within your composition. Reflective surfaces can help bounce light into darker areas of a room, effectively brightening your shots. Consider employing simple techniques such as using white walls or adding a few light-colored furnishings to increase light diffusion. Additionally, avoid capturing images with direct sunlight pouring in through windows, as this can create unsightly glare and high contrast. Instead, opt for overcast days for a soft and even lighting effect that beautifully showcases the property.
What Camera Settings Should You Use for Real Estate Photography?
When it comes to real estate photography, camera settings play a crucial role in capturing the property in its best light. Start by setting your camera to aperture priority mode (Av or A mode), which allows you to control the depth of field while the camera automatically adjusts the shutter speed. A smaller aperture (higher f-number) around f/8 to f/11 is recommended to ensure a greater depth of field, keeping both foreground and background in focus. Additionally, use a low ISO setting, such as 100 to 400, to minimize noise and improve image quality in well-lit environments.
Another essential aspect of camera settings is shutter speed, which should generally be at least 1/60th of a second or faster to avoid motion blur, especially if you're shooting handheld. Consider using a tripod for stability, especially in low-light situations. Also, don't forget to engage your white balance settings to match the lighting conditions, whether it's daylight, shade, or artificial light. This will help ensure accurate color reproduction and make your images more appealing to potential buyers. Incorporate these techniques, and you'll create stunning real estate images that stand out in a crowded market.